Key Takeaways
- Overclocking the Raspberry Pi 5 can enhance your CPU and GPU efficiency by about 15%.
- Putting in an SSD on your Pi provides sooner knowledge switch, boot instances, and app loading.
- Observe the information to arrange your Raspberry Pi besides from an NVMe SSD for improved pace and overclock your Raspberry Pi’s processor.
If, like me, you are not very math-y however nonetheless fairly tech-y, you would possibly choose a tech mission over a math one to have a good time Pi day. And what higher strategy to have a good time Pi day, I assumed, than to supercharge my Raspberry Pi 5 by overclocking it and rigging it up with a superfast SSD?
As a result of I am not one to maintain such secrets and techniques to myself, I documented the method and have given you a step-by-step information for how you can pace up your individual Raspberry Pi 5. Don’t be concerned, both, as a result of Raspberry Pi OS really makes it fairly easy to squeeze extra efficiency out of your Pi. Learn on to learn how.

Raspberry Pi 5 vs 4: Is the extra power worth the cost?
These two tiny computer systems pack a punch, and we have put them head-to-head to see which one comes out on high.
 Why pace up your Raspberry Pi 5?
In my Raspberry Pi 5 review and comparability of the Raspberry Pi 5 vs 4, I contended that the Pi 5 is a good desktop PC in its personal proper and might function an inexpensive dwelling desktop alternative. Its upgraded {hardware} makes it snappy sufficient for just about any on a regular basis job. The query is: If it is already quick sufficient to function a desktop PC, why pace it up?
By dashing up your Raspberry Pi 5, you may squeeze out some additional snappiness for extra CPU or I/O-intensive workloads and enhance your boot and app load instances.
The easy reply is that a little bit additional efficiency by no means hurts. And by dashing up your Raspberry Pi 5, you may squeeze out some additional snappiness for extra CPU or I/O-intensive workloads and enhance your boot and app load instances. Plus, setting apart common overclocking and focusing simply on the storage improve we’ll be endeavor, there are different advantages of putting in an SSD to be used together with your Pi than straight-up efficiency.
Whereas SD playing cards are low-cost and transportable, they’re liable to knowledge corruption. SSDs are much less so, and whereas a USB SSD resolves this downside to some extent, NVMe SSDs are sooner and extra dependable than USB ones.

How a lot efficiency will you acquire?
It is a respectable bounce
How a lot efficiency you may acquire and the way a lot faster your Raspberry Pi 5 might be after putting in an SSD and overclocking the Pi’s chip will depend on a number of components (the SSD you select, how a lot you overclock your chip, and, to an extent, the silicone lottery).
I can, nonetheless, inform you how a lot my efficiency elevated after dashing up my Pi.
|
Benchmark |
Enchancment |
|---|---|
|
GeekBench 6 |
15% total efficiency |
|
MotionMark |
13% (GPU efficiency) |
|
VSCode app loading time |
1 second sooner (5s to 4s) |
|
USB file switch |
34% sooner |
|
File compression |
35% sooner |
|
Startup boot time |
2 seconds sooner (20s to 18s) |
It is a testomony to the Raspberry Pi 5 and Raspberry Pi OS that the overall desktop expertise was already snappy earlier than making any modifications, however after putting in an SSD and overclocking the CPU and GPU, I felt issues turned barely snappier — opening apps, switching between them, navigating the file explorer, and so forth.

9 tips I wish I knew before starting my first Raspberry Pi project
Discover your new Raspberry Pi daunting? The following tips ought to have your Raspberry Pi initiatives up and operating very quickly.
What you may want
For those who simply wish to overclock your Raspberry Pi 5 and do not wish to set up an SSD, you may simply want an energetic cooler, however if you wish to hook an SSD as much as your Pi you may want the next:
- Raspberry Pi 5 and equipment (energy provide, mouse and keyboard, monitor, HDMI cable)
- Energetic cooler for the Pi 5
- Both a spare SD card and an SD-to-USB adapter, or an SD card with Raspberry Pi OS already put in
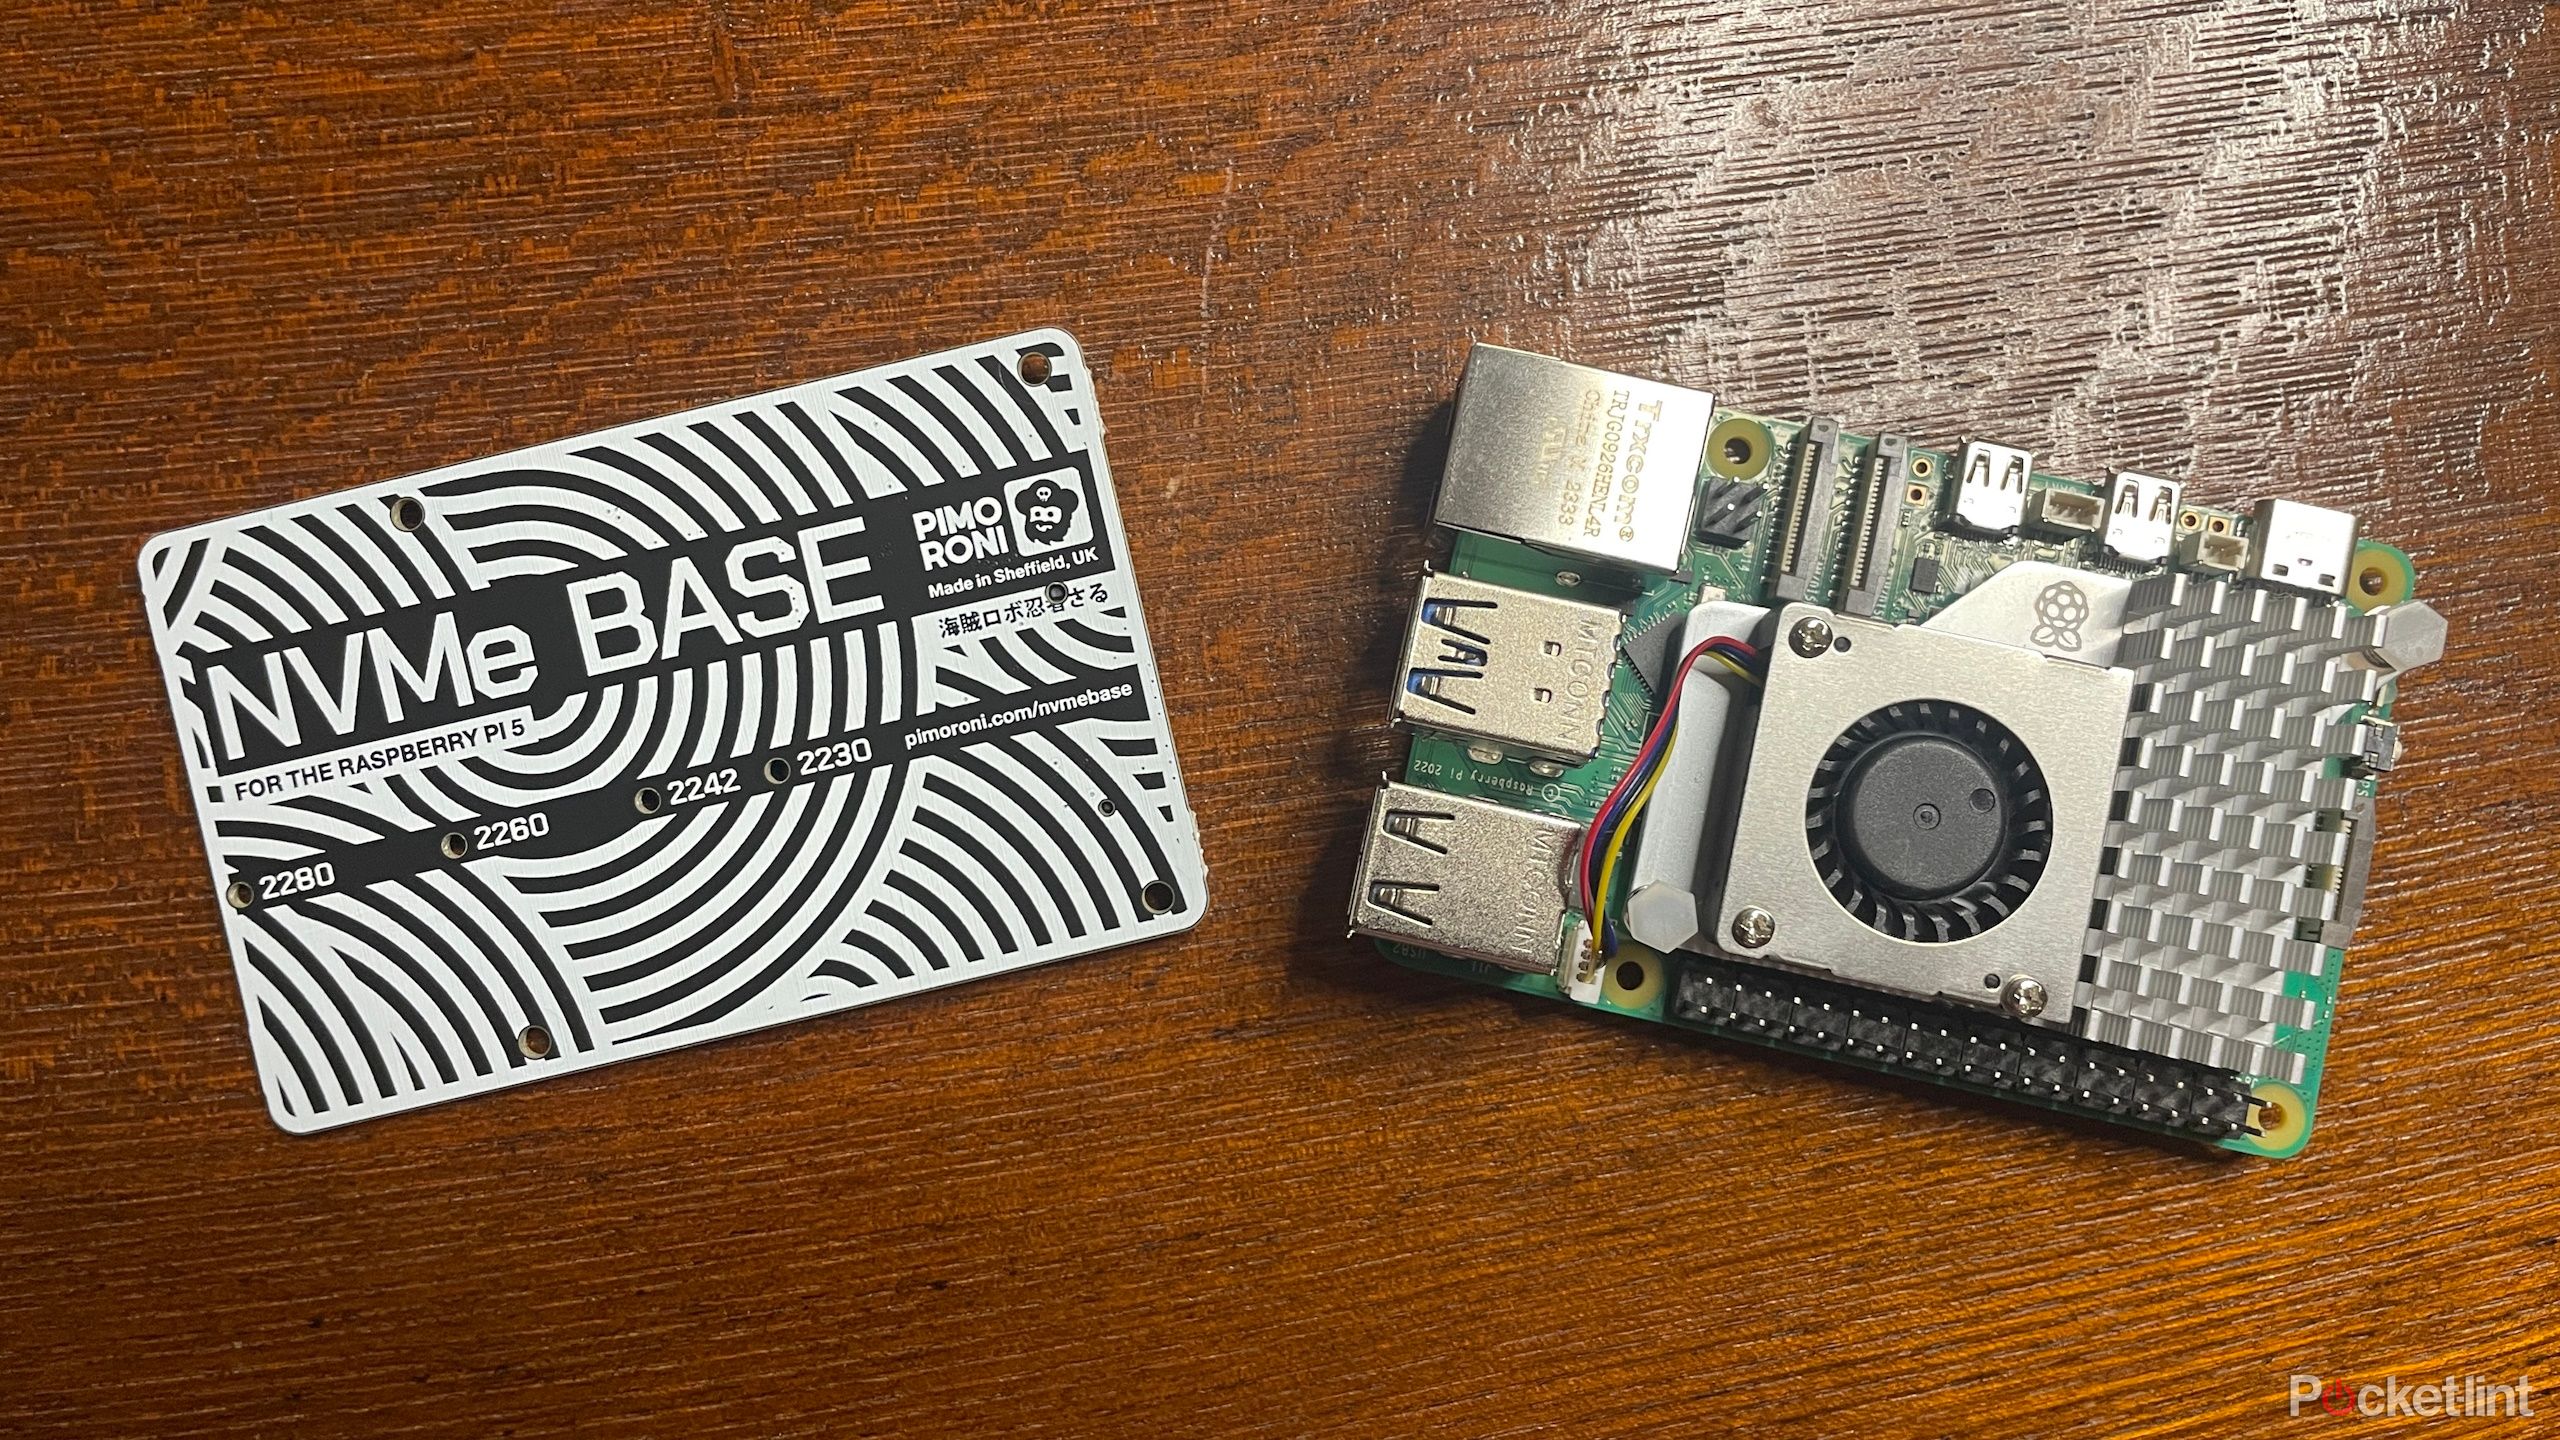
- A Pimoroni NVMe Base for the Raspberry Pi 5
- A appropriate NVMe SSD. (I bought this one on Amazon, however you should buy one packaged with the NVMe Base, together with viewing an inventory of appropriate drives.)
- An NVMe to USB adapter or enclosure
- A screwdriver
 Methods to use an SSD together with your Raspberry Pi 5
Putting in an SSD utilizing the Pimoroni NVMe base requires a little bit of software program preparation after which some fairly easy connecting and screwing in. First, you have to get the Pi able to boot from an NVMe SSD, then you may bodily set up the SSD.

Software program set up
If you do not have Raspberry Pi OS already put in on an SD card, obtain and set up the Raspberry Pi Imager, join a spare SD card to your PC with an SD-to-USB adapter, and set up Raspberry Pi OS onto the SD card utilizing the Imager.
There isn’t any possibility to put in an NVMe bootloader Picture onto an SD card through the Raspberry Pi Imager, so you may want to put in and run Raspberry Pi OS on the SD card to set NVMe as the primary boot gadget within the bootloader.
Plug the SD card into your Raspberry Pi, boot up, and do the next:
- Open the Terminal with Ctrl + Alt + T.
- Enter sudo rpi-eeprom-update -a to make sure the bootloader is up-to-date.
- Enter sudo raspi-config to load up the Raspberry Pi configuration software.
- Go to Superior Choices > Boot Order.
- Choose NVME/USB Boot and hit Enter.
- Press Esc till you are out of the configuration software.
Alternatively, you may edit the boot configuration file to do the identical factor:
- Open the Terminal with Ctrl + Alt + T.
- Enter sudo rpi-eeprom-update -a to make sure the bootloader is up-to-date.
- Enter sudo rpi-eeprom-config –edit.
- Change BOOT_ORDER to BOOT_ORDER=0xf416.
- Add PCIE_PROBE=1 to the underside of the file.
- Save with Ctrl + O.
- Exit with Ctrl + X.
Earlier than you assemble the NVMe Base, you may must flash Pi OS onto your SSD. To do this, use an NVME-to-USB adapter or NVME USB enclosure, to attach the drive to your pc. Then, use the Raspberry Pi Imager to put in Raspberry Pi OS onto your NVMe SSD. Be sure to choose Raspberry Pi 5 from the record of choices, adopted by Pi OS 64-bit.
{Hardware} set up
After you have put in Pi OS in your SSD, and made modifications to the boot configuration, it is time to put the whole meeting collectively and begin operating your Pi 5 from an SSD.
If you have not put in the energetic cooler onto your Raspberry Pi but, achieve this, in any other case your efficiency might be throttled by excessive temperatures.
For a extra detailed information on how you can arrange your Raspberry Pi 5 with an SSD utilizing the Pimoroni NVMe Base, try Pimoroni’s guide. This is the shortened model:
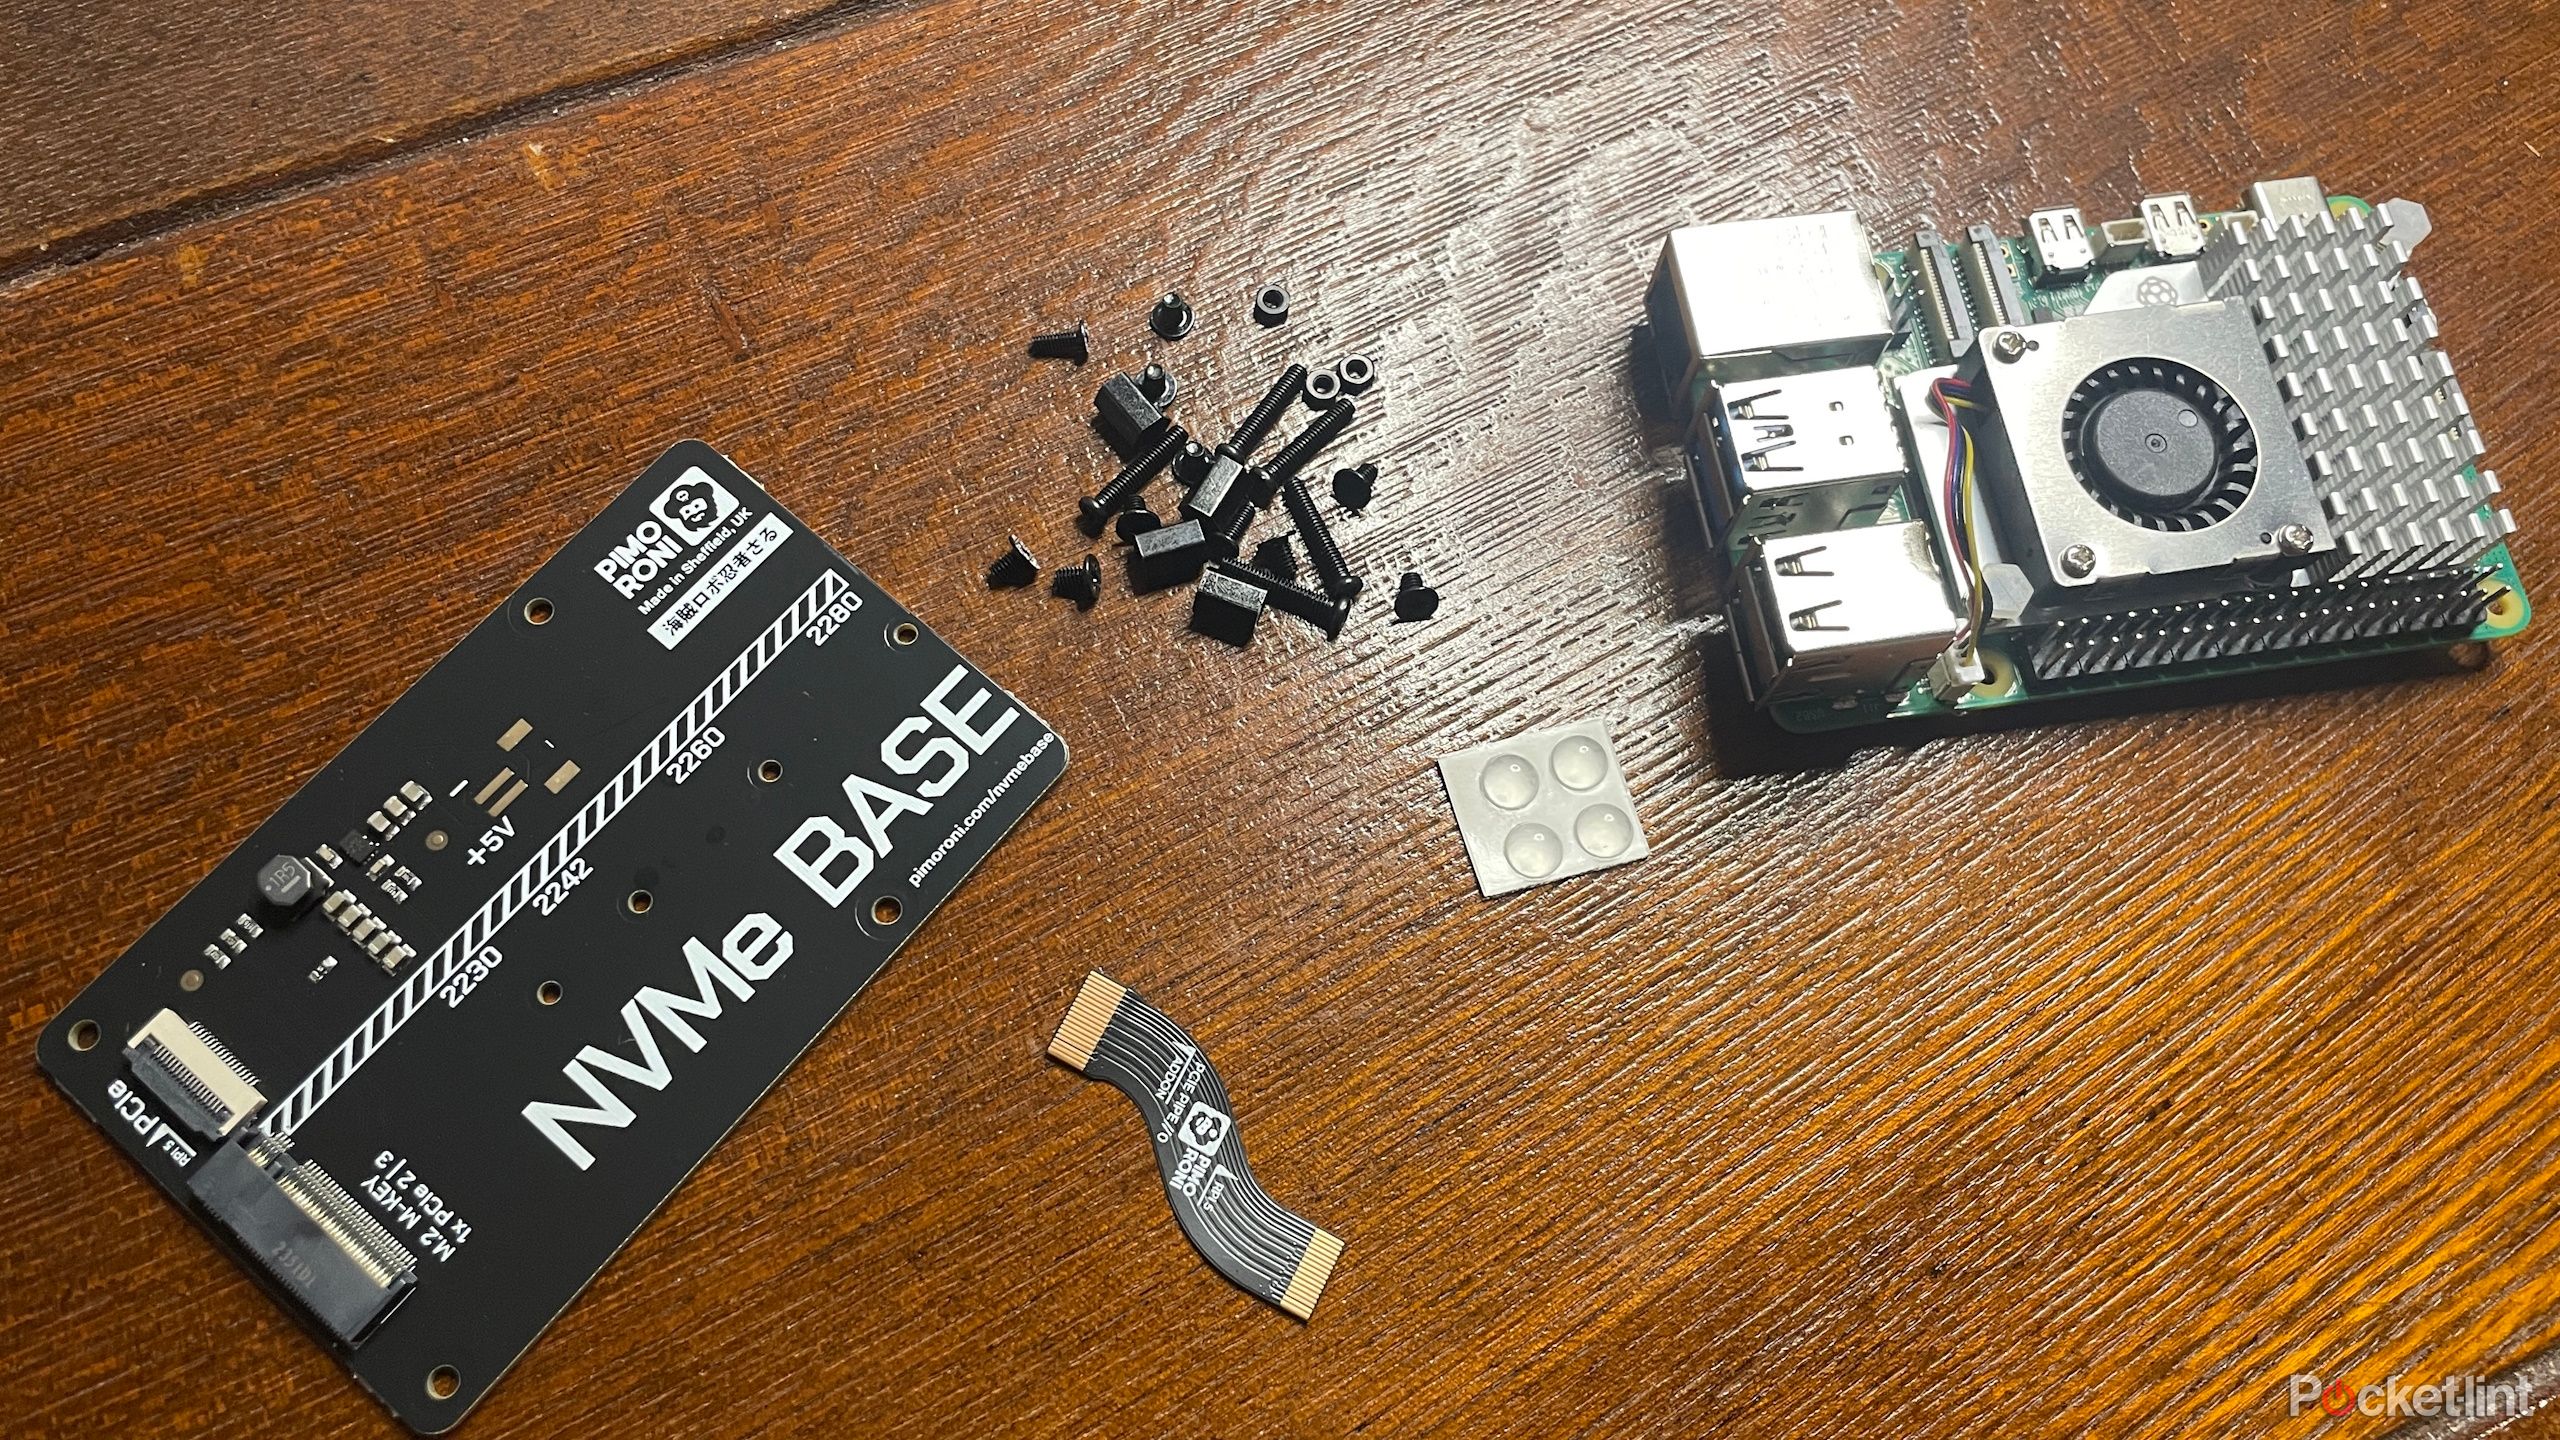
- Push 4 of the (small, wide-headed) screws upwards via the mounting holes of the Pimoroni Base and screw the standoffs on high.
- Screw the smaller screw upwards via the opening on your respective drive dimension(most likely 2280) and screw a small nut on high.
- Slide the SSD into the M.2 slot on the NVMe Base.
- Repair down the SSD by sandwiching the tip in between the screw and nut, and a second nut on high of the SSD..
- Raise the duvet Defending the PCIe sloton the Raspberry Pi
- Slide the smaller finish of the ribbon cable into the Raspberry Pi’s PCIe slot, with the copper connectors going through inwards in the direction of the Pi.
- Maintain the ribbon cable regular and shut the latch on the Pi’s PCIe port.
- Join the ribbon cable to the NVMe Base in the identical approach, maintaining its copper connectors going through downwards in the direction of the (black) part aspect of the NVMe Base.
- Fastidiously fold over the Base in order that the SSD is sandwiched between the NVMe Base and the Raspberry Pi.
- Align the holes on the Raspberry Pi 5 with the NVMe Base standoffs, and screw within the 4 remaining (small, wide-headed) screws to maintain it in place.
When you’re executed, watch out to not nudge the ribbon cable an excessive amount of, because it might come free or snap.
For those who’ve put in all the pieces accurately and arrange the Pi besides from an NVMe drive, it ought to now boot into the Raspberry Pi OS put in in your SSD.

Methods to overclock your Raspberry Pi 5
It is tremendous simple to overclock your Raspberry Pi 5 — simpler than utilizing most computer systems and working techniques, in truth. All it’s good to do is add just a few instructions to a configuration file.
The Raspberry Pi 5 ought to now have the configuration file situated at
/boot/firmware/config.txt
. Different guides referring to /boot/config.txt are outdated.
- Open the Terminal with Ctrl + Alt + T.
- Enter sudo nano -w /boot/firmware/config.txt.
- On the backside of the file, enter dtparam=pciex1_gen=3 to inform the Pi it may use PCIe Gen 3 fairly than Gen 2 (Gen 3 is faster).
- On a brand new line, enter arm_freq=2800 to spice up your CPU frequency from 2400MHz to 2800MHz.
- On a brand new line, enter gpu_freq=900 to spice up your GPU frequency from 800MHz to 900MHz.
- Press Ctrl + O to avoid wasting and Ctrl + X to exit.
- Reboot your Raspberry Pi 5.
The overclocked CPU and GPU numbers I picked are, in truth, a little bit conservative, however they’re what I achieved the above efficiency outcomes with. Different customers have had success with, for instance, setting the CPU frequency to 2900MHz or 3000MHz and the GPU frequency to 900MHz.
Your mileage could fluctuate primarily based on how fortunate you had been within the silicone lottery (how briskly a chip was plucked from the batch) — you might be able to obtain the next overclock than the conservative one I advisable right here.
You would possibly wish to check out arm_freq=2900 and gpu_freq=950 and see how your Raspberry Pi performs.

5 DIY beginner projects for the new Raspberry Pi 5
The Raspberry Pi 5 is right here, and it is snappier than ever. Listed here are some thrilling, DIY initiatives any novice can do with it.
Trending Merchandise